


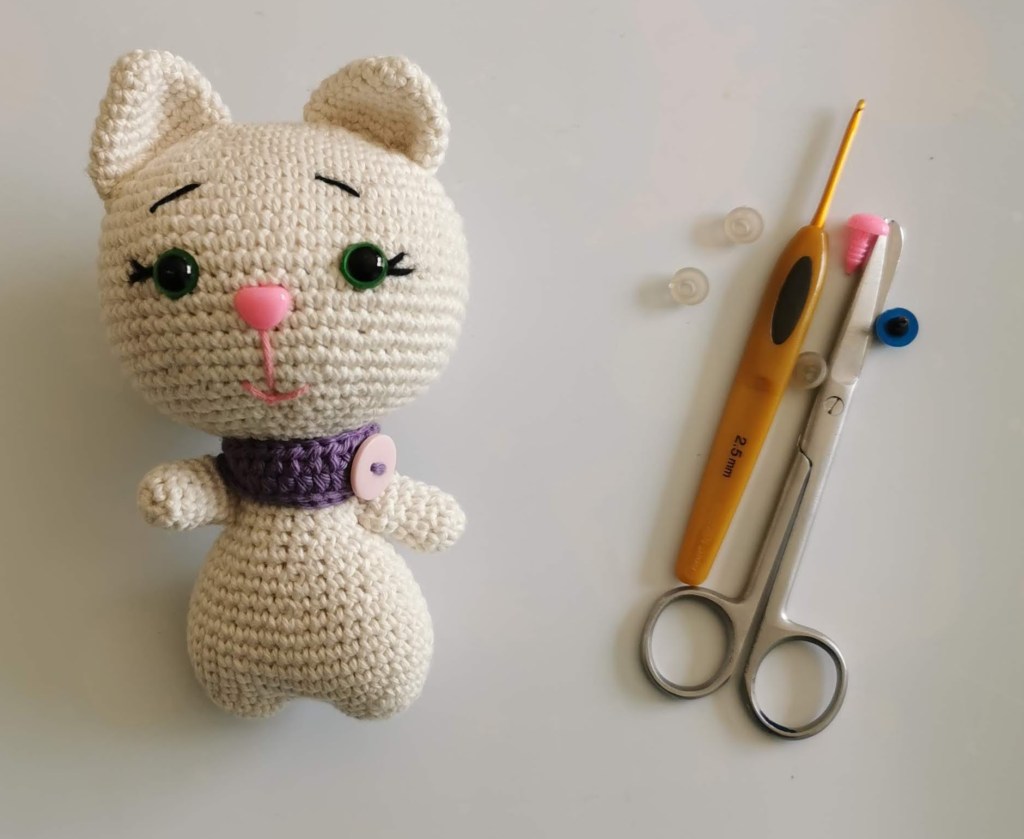


Please feel free to choose whatever coloured yarn you like as this is all about your own individuality. Please use a stitch marker so you don’t lose where you are in the crochet round. I cut a 3 inch piece of yarn in a different colour to the cat and insert that at the end of each round. To make this cat you will need the following tools.
Supplies:
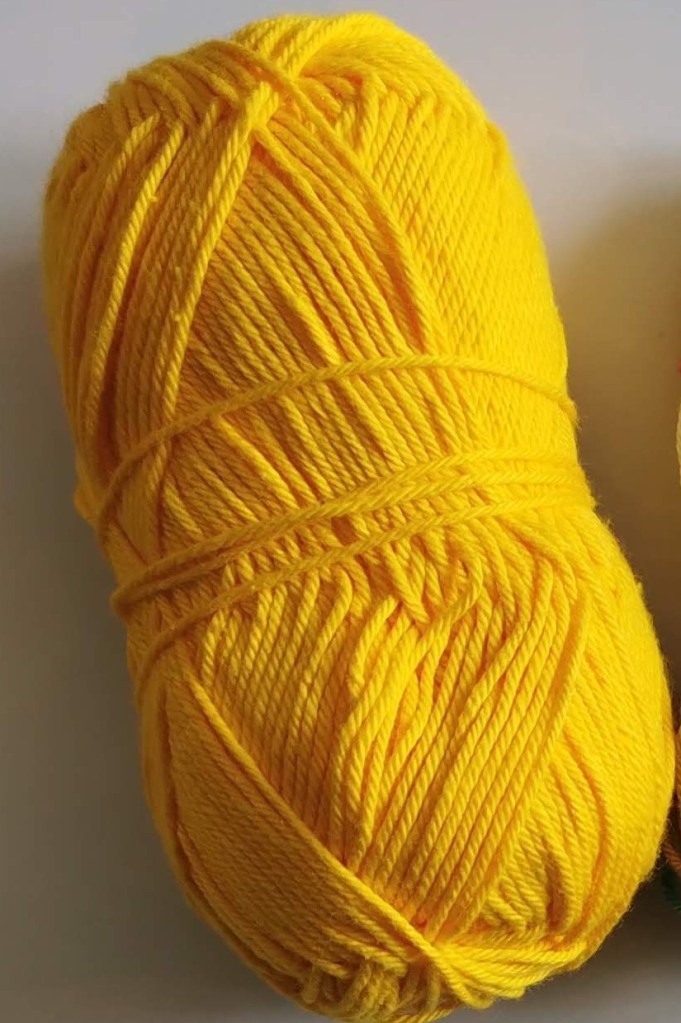
DK Cotton Yarn/DK Acrylic Yarn
Polyester stuffing
1 small button for the scarf
Scissors and sewing needle
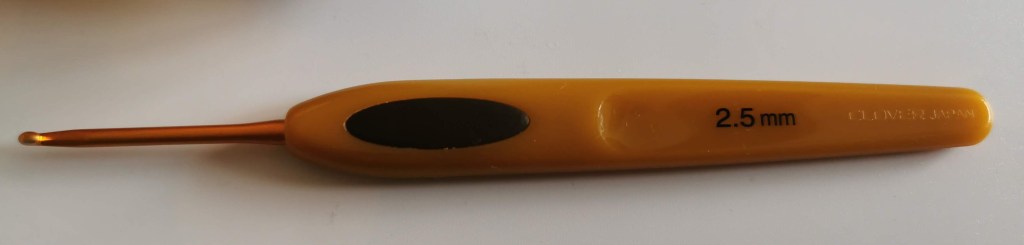
2.5mm crochet hook

Coloured embroidery thread or DK cotton or acrylic yarn

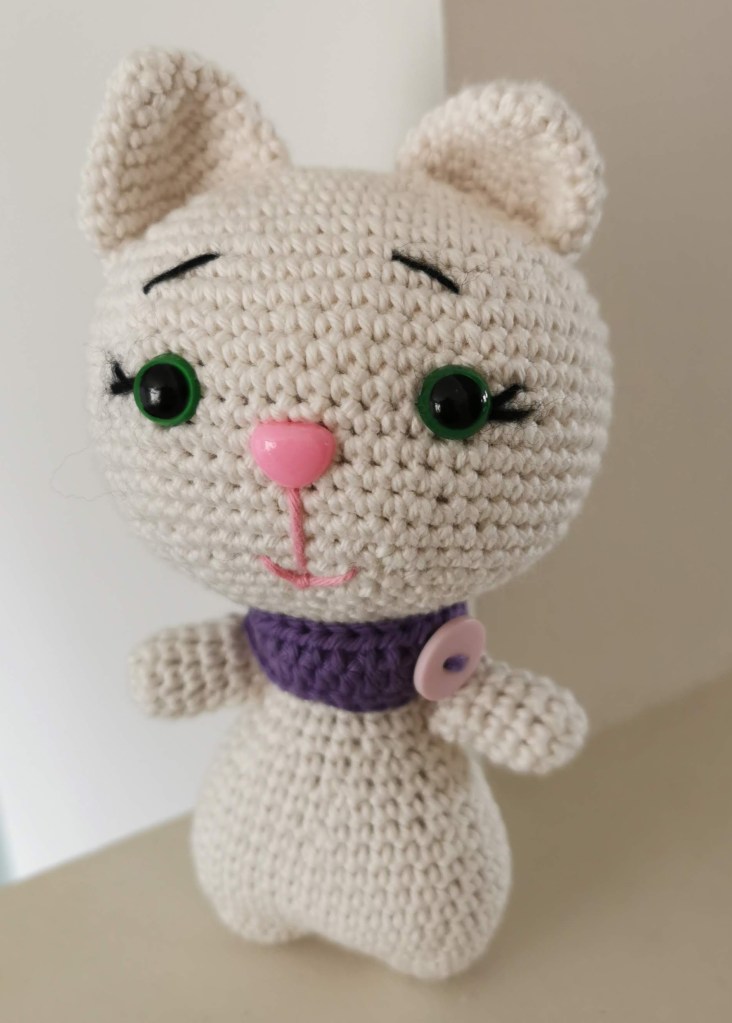
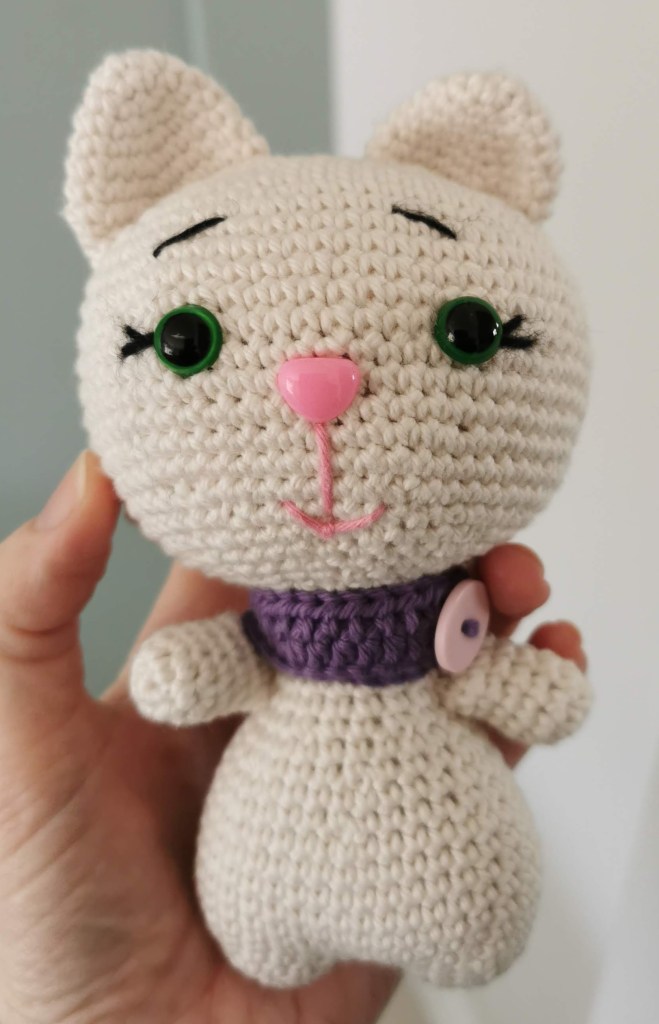
The finished cat is 25cm tall, if you use all of the above. It will be smaller or larger depending on the crochet hook size you use.

Skill Level: Beginner
Abbreviations:
ch = chain
st – stitch
sc = single crochet
inc = increase, 2 sc in one st
dec = decrease, 2 sc together
hdc = half double crochet
(..) = repeat the number in the brackets
[..] = total number of stitches
To make this cat you will start crocheting the legs first. Once joined together, we will continue to crochet the body and the head so it is all one piece.
Legs (Make 2)
Leg 1
R 1: 6sc in magic circle [6]
R 2: (1sc, inc) x 3 [9]
R 3: (2sc, inc) x 3 [12]
R 4: (3sc, inc) x 3 [15]
Finish off (FO), stuff with filling, cut the yarn and leave a long tail for sewing
Leg 2
R 1: 6sc in magic circle [6]
R 2: (1sc, inc) x 3 [9]
R 3: (2sc, inc) x 3 [12]
R 4: (3sc, inc) x 3 [15]
R 5: ch1, 15sc (leg 1), sc into chain, 15sc (leg 2) sc into chain. [32]
Continue to crochet the body using stitches on both legs
Body
R 6: (8sc, inc) x 4 [36]
R 7 – R 12: 36sc (6 rounds) [36]
R 13: (4sc, dec) x 6 [30]
R 14: 30sc [30]
R 15: (3sc, dec) x 6 [24]
R 16: 24sc [24]
R 17: (5sc, dec) x 4 [20]
R 18 – R 21: 20sc (4 rounds) [20]
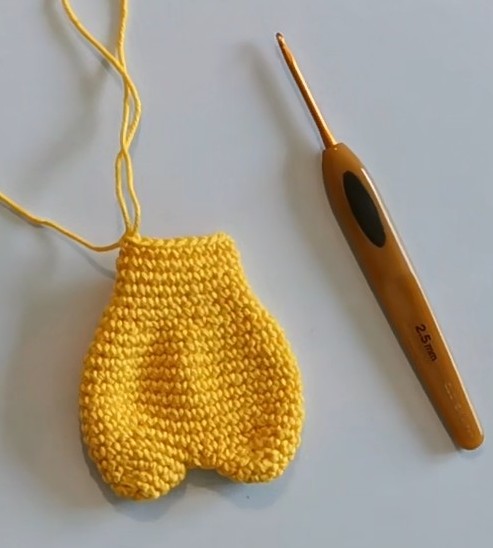
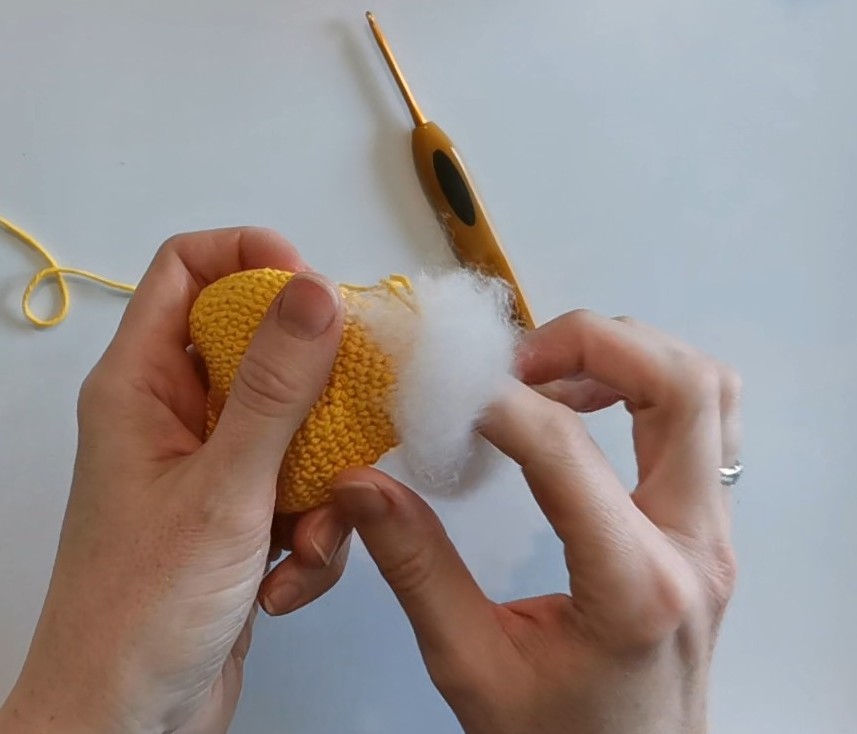
Stuff with filling
Do not cut the yarn and continue with the head
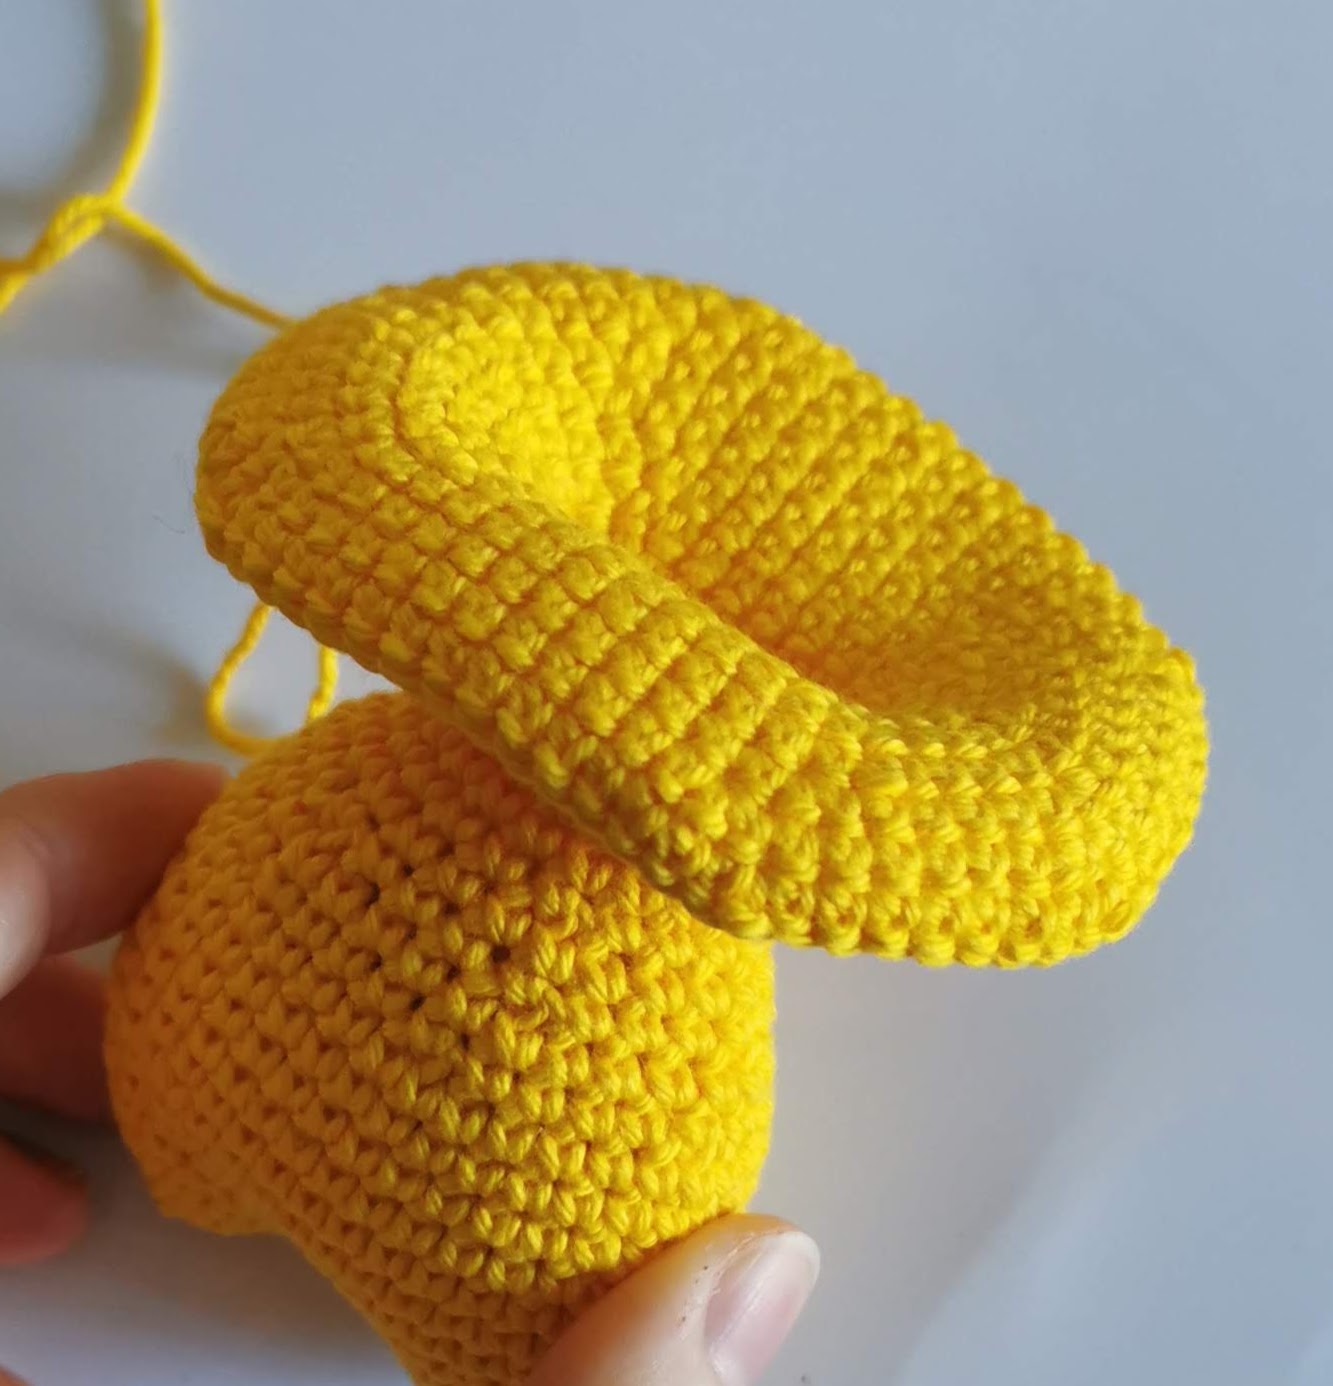
R 22: 20sc [20]
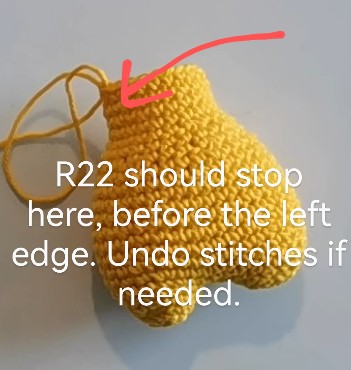
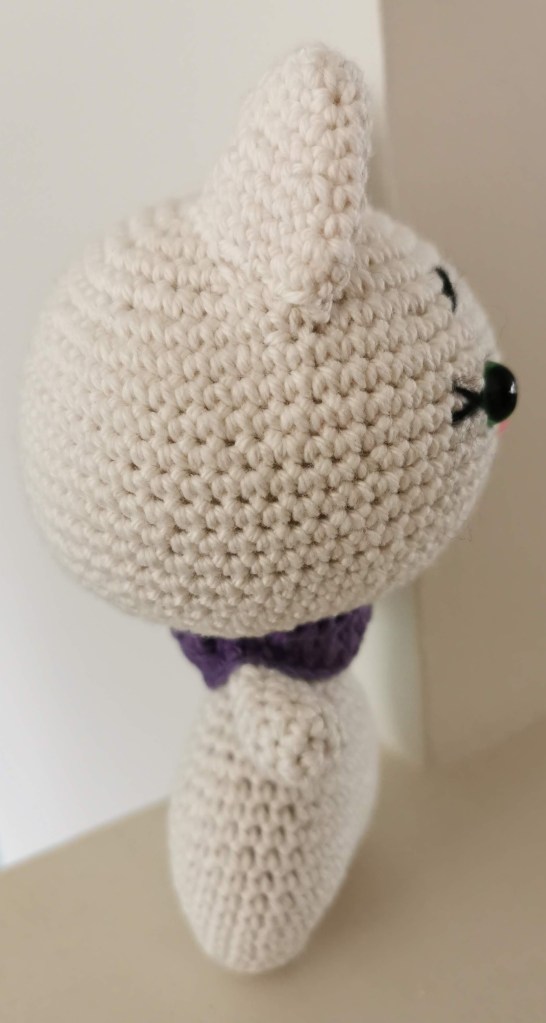
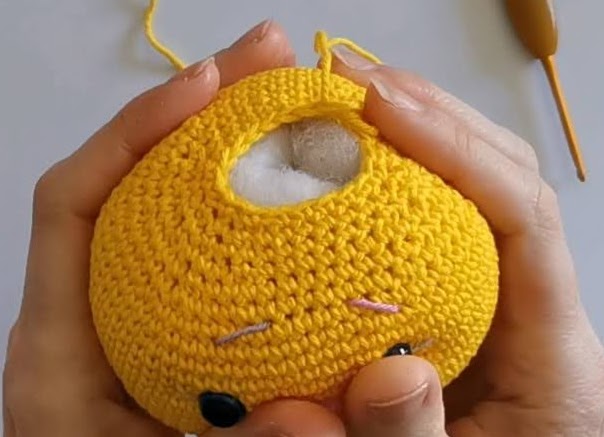
At this point continue single crochet until you reach the left edge of the neck. Follow the photo above. This is important so the increases are completed at the sides rather than the centre. It will ensure the head is at the correct angle. This is where you will begin R 23.
R 23: sc, inc, 6sc, inc, 2sc, inc, 6sc, inc, sc [24]
R 24: sc, inc, 7sc, inc, (sc, inc) x 2, 7sc, inc, sc, inc [30]
R 25: 2sc, inc, 8sc, inc, (2sc, inc) x 2, 8sc, inc, 2sc, inc [36]
R 26: sc, inc, 9sc, inc, (3sc, inc) x 2, 9sc, inc, 3sc, inc, 2sc [42]
R 27: 2sc, inc, 10sc, inc, (4sc, inc) x 2, 10sc, inc, 4sc, inc, 2sc [48]
R 28: 4sc, inc, 11sc, inc, (5sc, inc) x 2, 11sc, inc, 5sc, inc, sc [54]
R 29: 6sc, inc, 12sc, inc, (6sc, inc) x 2, 12sc, inc, 6sc, inc [60]
R 30: 5sc, inc, 13sc, inc, (7sc, inc) x 2, 13sc, inc, 7sc, inc, 2sc [66]
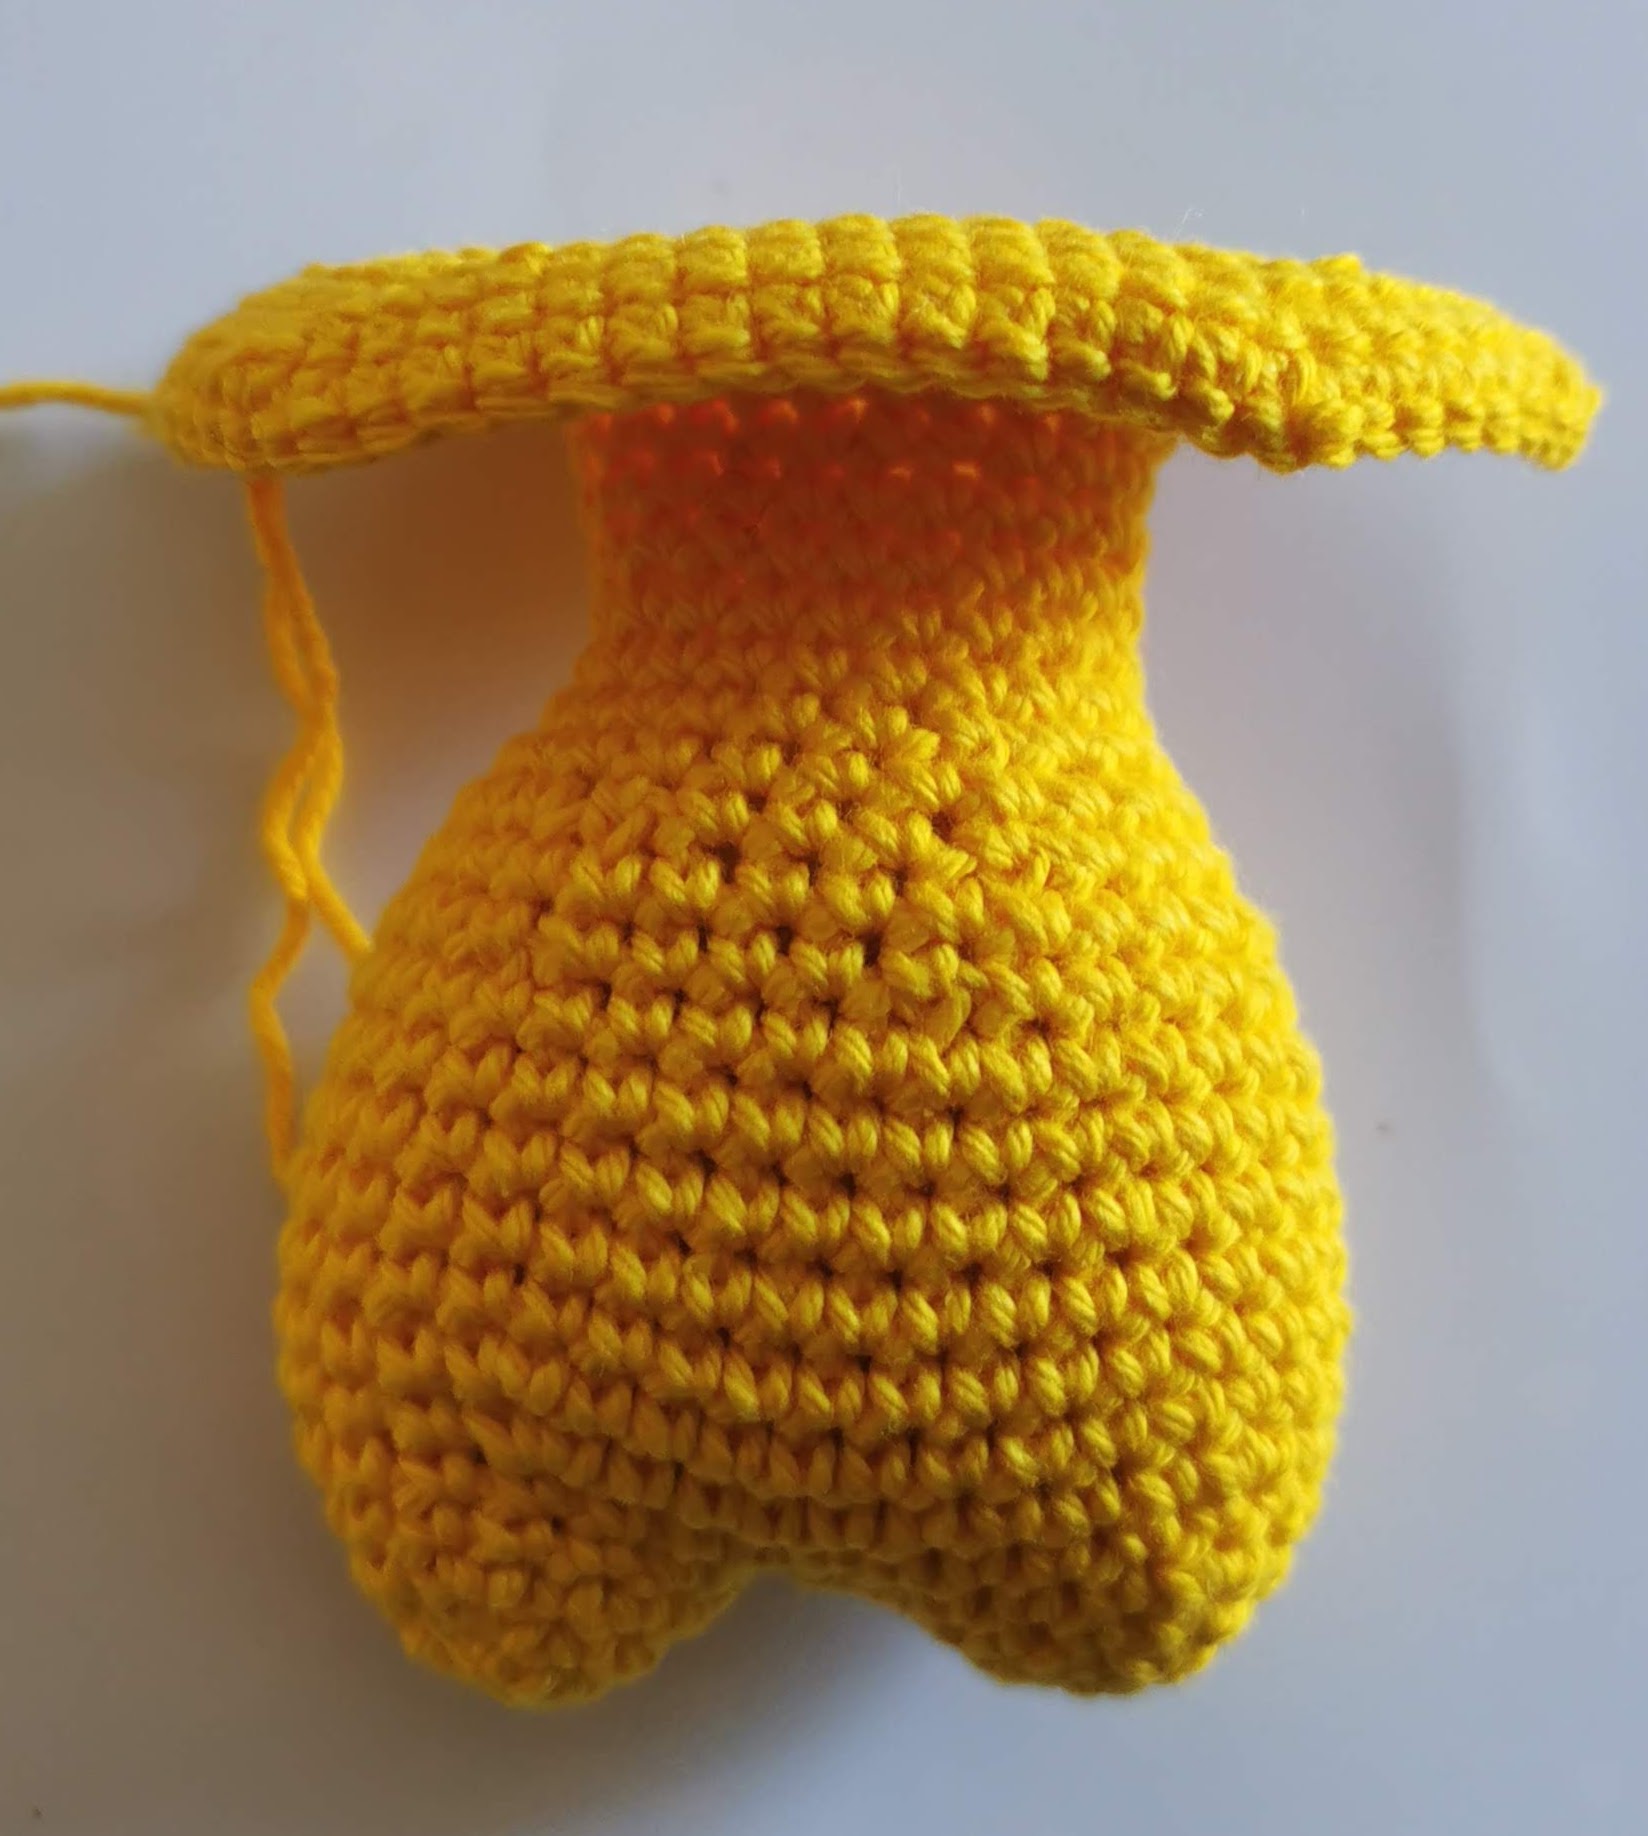
R 31 – R 40: 66sc (10 rounds) [66]
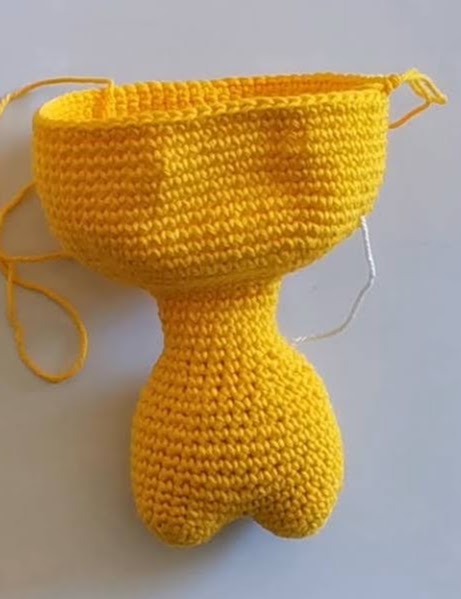
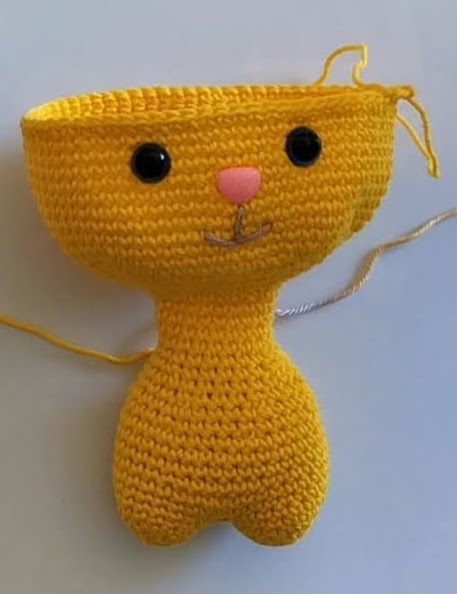
Insert the safety eyes or embroider eyes between R 35 – R 36
Stuff with filling as you go
R 41: 5sc, dec, 13sc, (dec, 7sc) x 2, dec, 13sc, dec, 7sc, dec, 2sc [60]
R 42: 6sc, dec, 12sc, (dec, 6sc) x 2, dec, 12sc, dec, 6sc, dec [54]
R 43: 4sc, dec, 11sc, (dec, 5sc) x 2, dec, 11sc, dec, 5sc, dec, sc [48]
R 44: 2sc, dec, 10sc, (dec,4sc) x 2, dec, 10sc, dec, 4 sc, dec, 2sc [42]
R 45: dec, 9sc, (dec, 3sc) x 2, dec, 9sc, (dec, 3sc) x 2 [36]
R 46: 2sc, dec, 8sc, dec (2sc, dec) x 2, 8sc, dec, 2sc, dec [30]
R 47: dec, 7sc, dec (sc,dec) x 2, 7sc, (dec, sc) x 2 [24]
R48: dec, 6sc, (dec) x 2, 6sc, (dec) x 2, dec [18]
R 49: (sc, dec) x 6 [12]
R 50: (dec) x 6 [6]
Cut the yarn and leave a long tail to sew the hole closed. Get a sewing needle and put it in the front loop of each st, pull it all at once and the hole will close. Ensure it is tight and secure and cut the yarn to finish off
Arms (Make 2)

R 1: 6sc in magic circle [6]
R 2: (inc) x 6 [12]
R 3 – R 4: sc in all 12st [12]
R 5: (dec) x 2, 8sc [10]
R 6 – R11: 10 sc (6 rounds) [10]
Finish by folding both sides together and sc 5 across. Finish with a slip stitch (ss), leave a tail for sewing and cut yarn
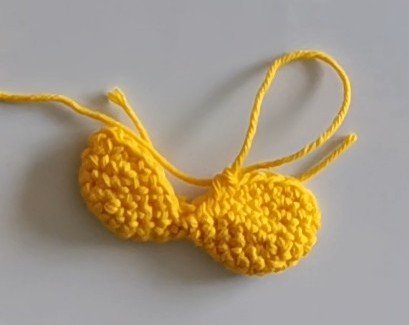
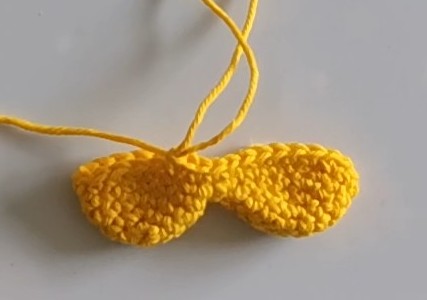
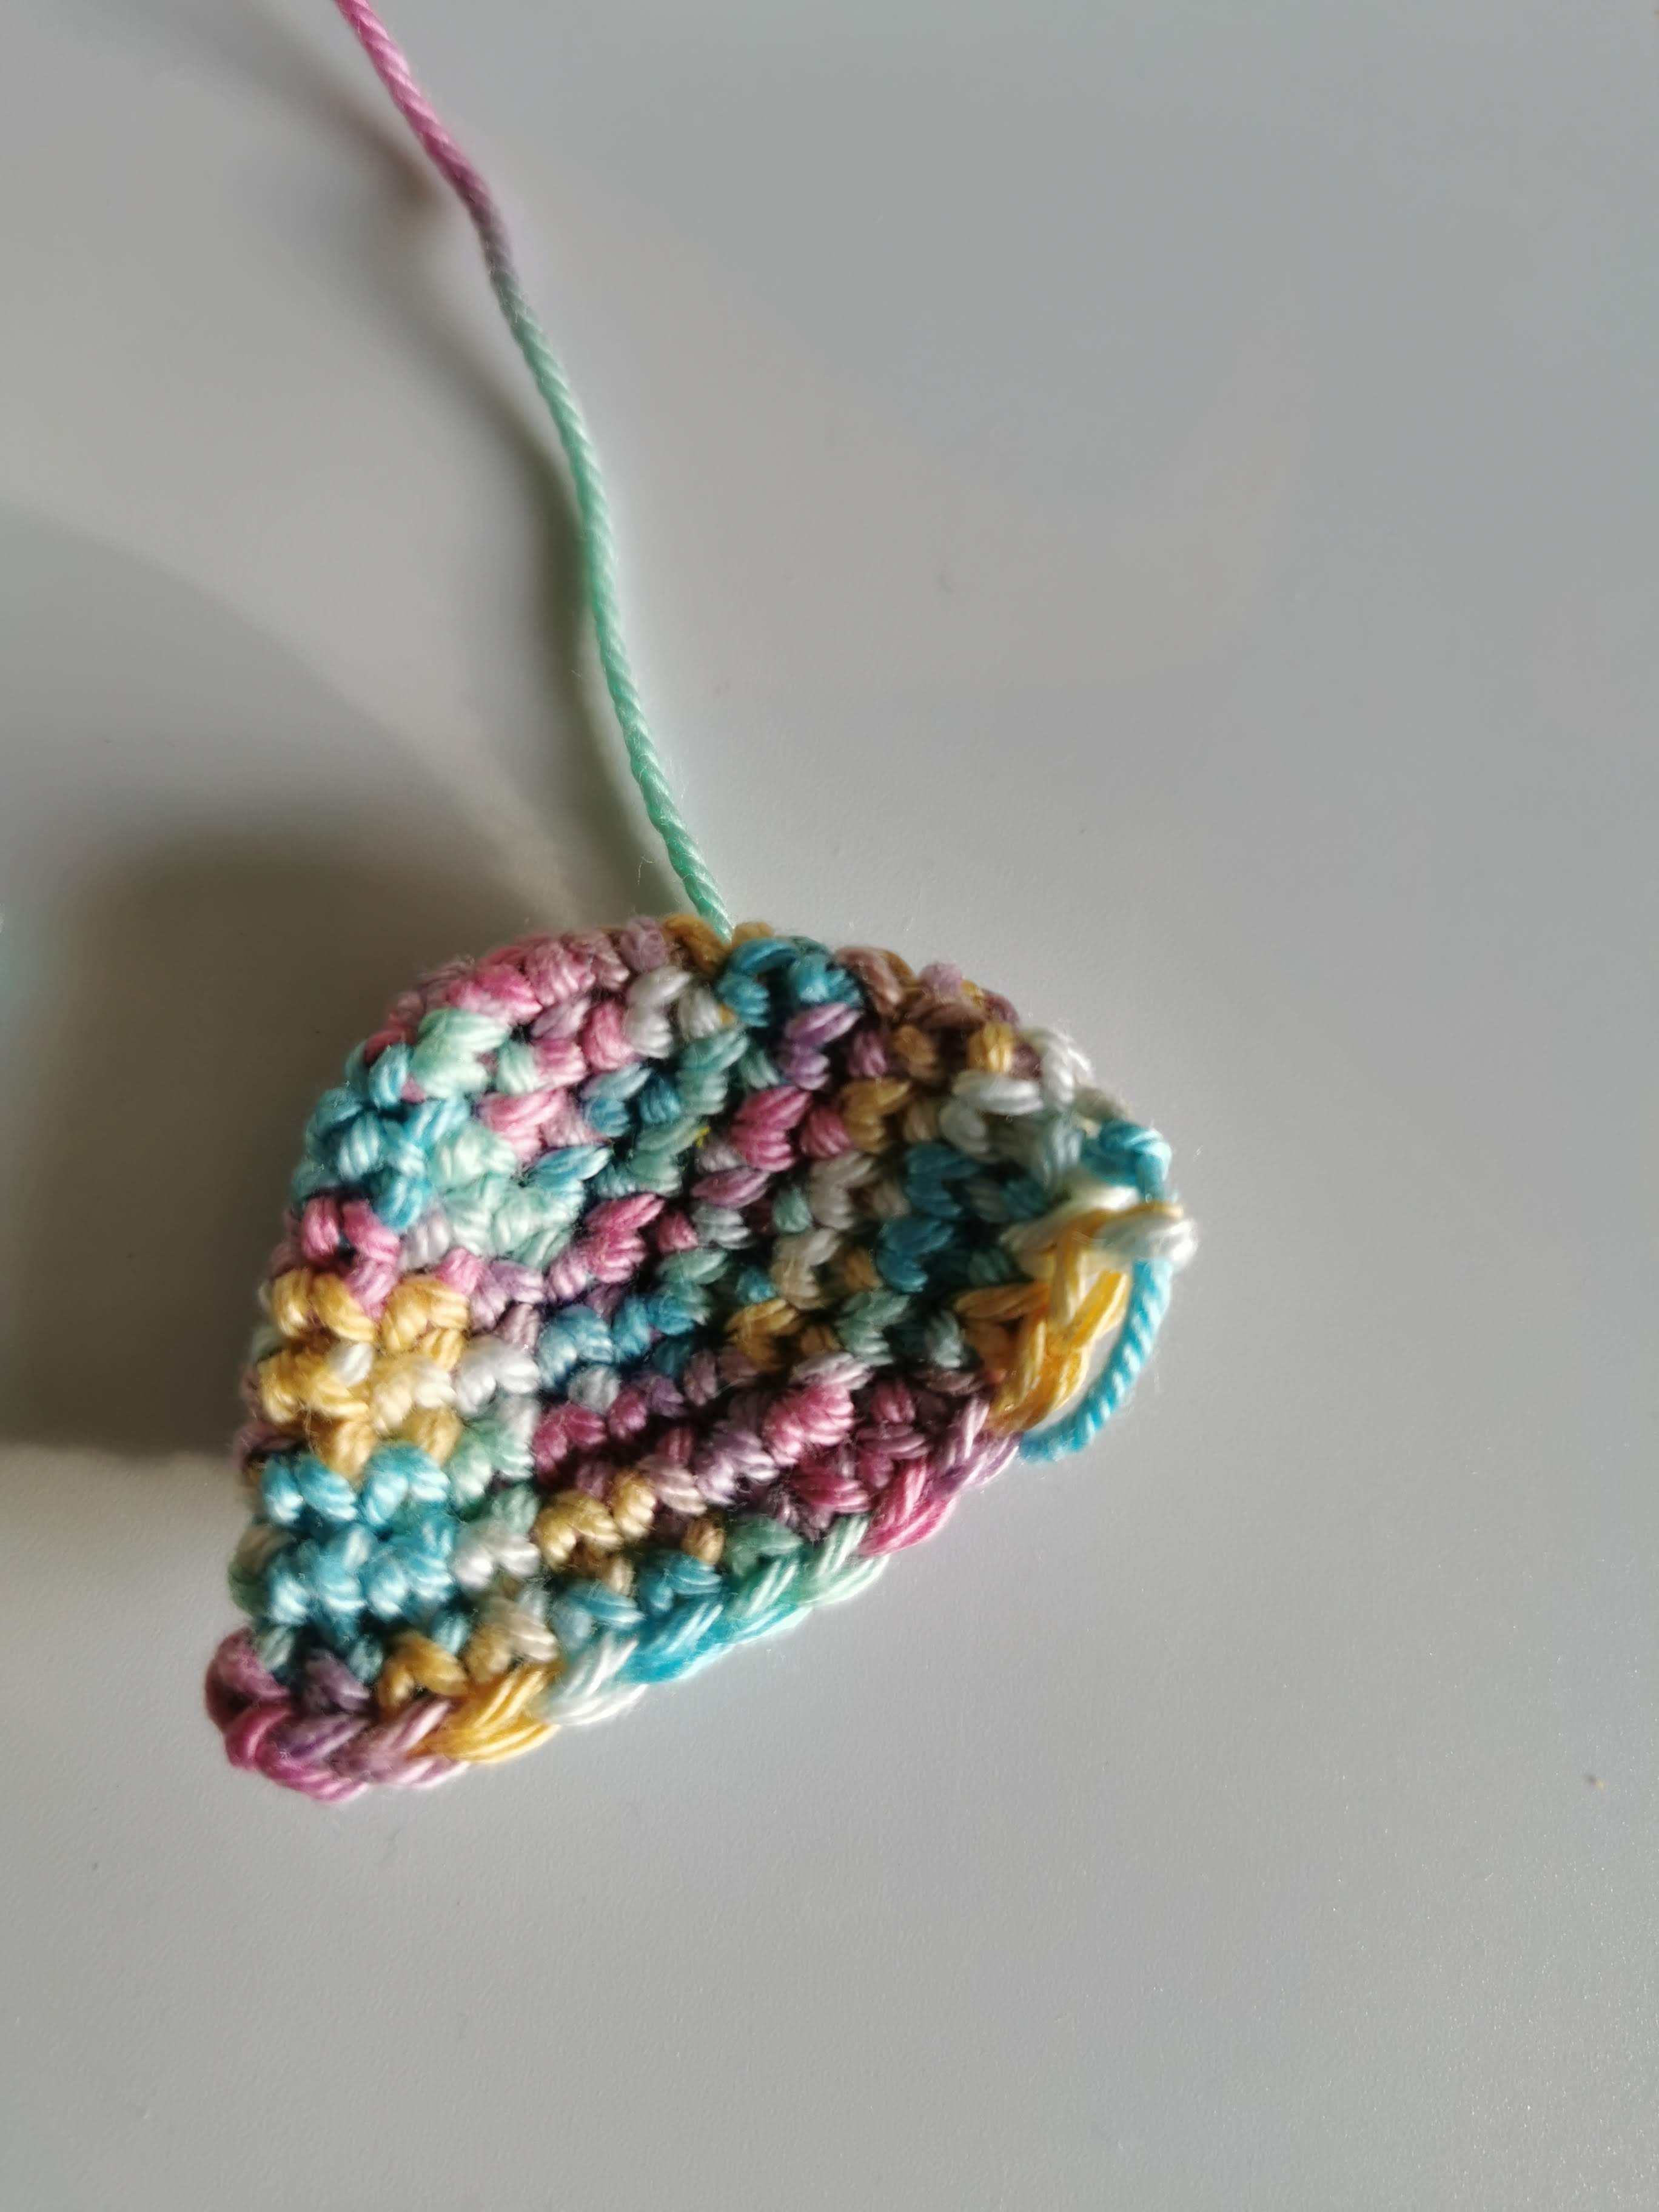
Ears (Make 2)
R 1: 6sc in magic circle [6]
R 2: (sc, inc) x 3 [9]
R 3: (2sc, inc) x 3 [12]
R 4: (3sc, inc) x 3 [15]
R 5: (4sc, inc) x 3 [18]
R 6: (5sc, inc) x 3 [21]
R 7: (6sc, inc) x 3 [24]
R 8: (7sc, inc) x 3 [27]
Finish by folding both sides together and sc 13 across. Finish with a slip stitch (ss), leave a tail for sewing and cut yarn
Scarf
HDC means yarn over hook before inserting into next sc. Insert into sc and bring yarn through so you will have 3 loops on the hook. Yarn through all 3 loops!
R 1: Chain 41 stitches and turn to left for next round.
R 2 : 40 HDC
Finish with a slip stitch (ss), leave a tail for sewing and cut yarn
Assembly:
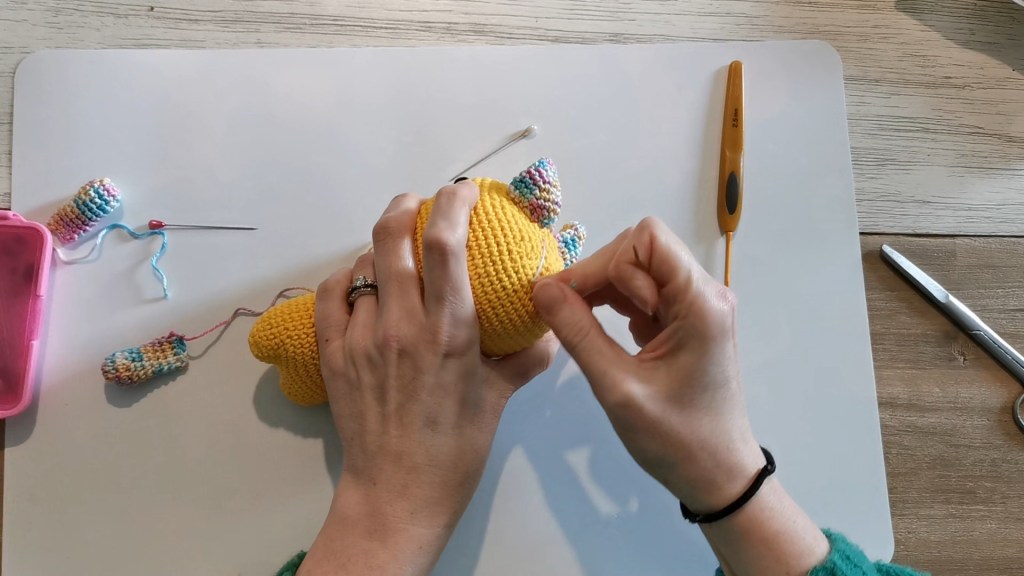
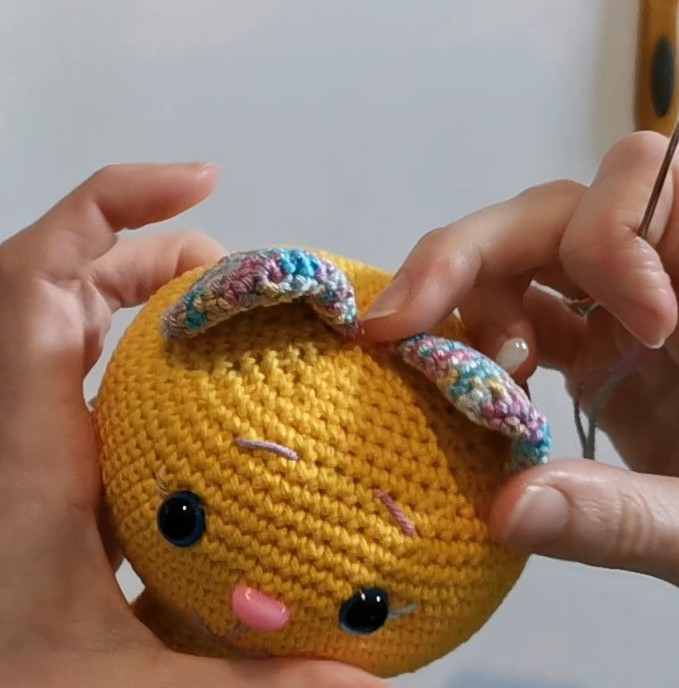


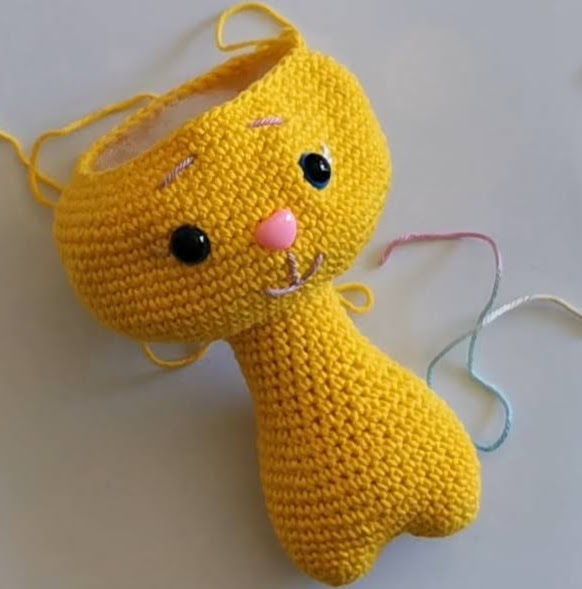
- Pin the ears to the head and sew them on
- Sew on the arms
- Attach a button to the scarf and sew it on to the neck area
